
Plan Right. Install Right.
Perform Better.
A septic tank performs best when the installation is planned correctly from the beginning.
UNITED supports customers with practical guidance for selecting the right location, preparing the site and installing the septic tank according to the project requirement.



Proper Planning Starts Before Installation
Before installing a septic tank, the site conditions and project requirements should be evaluated carefully.
Consider:
- Available installation space
- Expected usage and required tank capacity
- Access for transportation and placement
- Ground and soil conditions
- Position of inlet and outlet connections
- Distance from the building and surrounding utilities
- Provision for future inspection and maintenance
Early planning can help avoid unnecessary changes during construction and make installation more efficient.
A Simple, Structured Installation Approach
Follow our clear, methodical 6-step approach to guarantee reliable, long-lasting performance from day one.
Select the Right Tank
Step 01Choose a septic tank that suits the expected usage, available space and project requirement. UNITED offers different tank options and capacities for residential and project applications.
Identify the Installation Location
Step 02Select a suitable location that allows convenient placement, pipe connections, inspection and future maintenance. Finalize location before excavation begins.
Prepare the Site
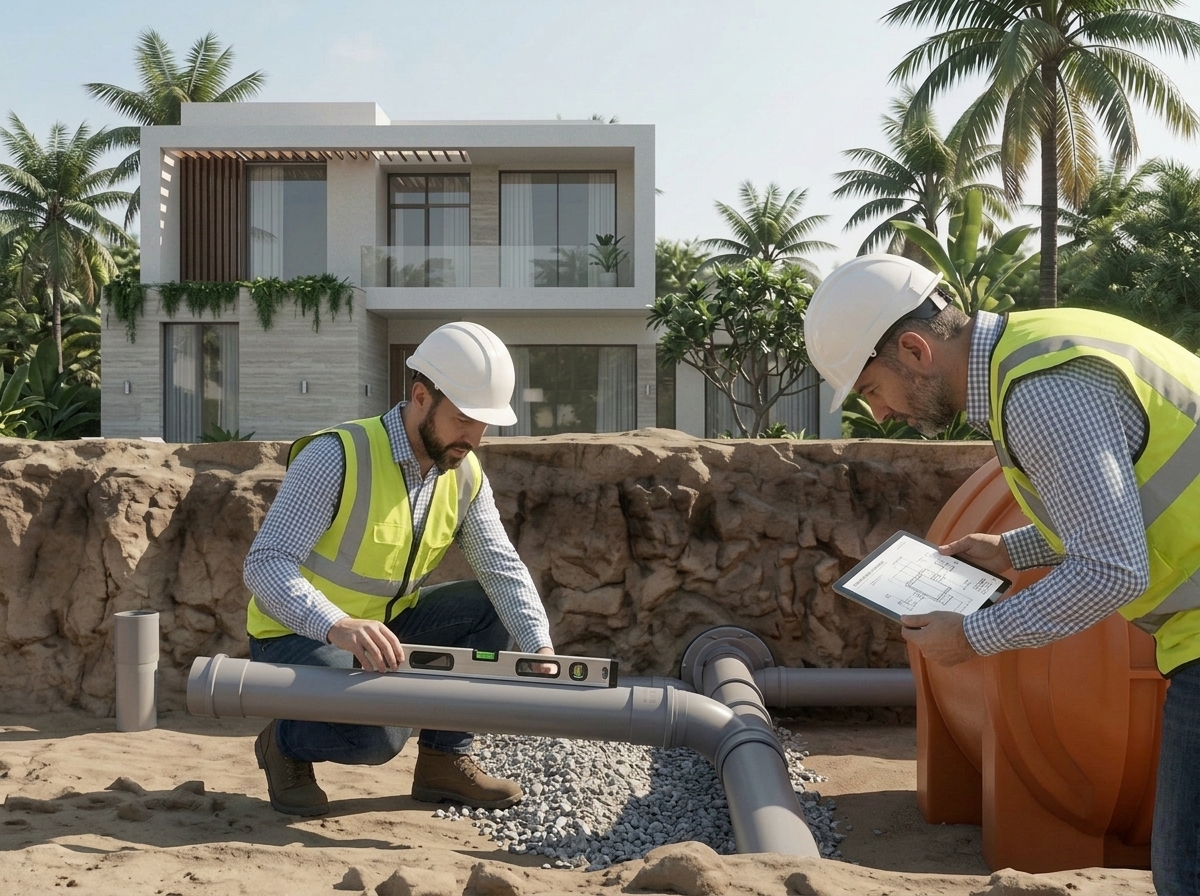
Step 03Prepare the installation area based on the size and type of tank being installed. The foundation should provide suitable support and a stable base.
Position the Tank
Step 04Carefully lower and position the tank in the prepared area. Ensure that the tank is properly aligned before making the inlet, outlet and other connections.
Connect the System
Step 05Complete the required inlet and outlet pipe connections according to the approved installation arrangement. Check connections carefully before completing the area.
Complete the Installation
Step 06Once the tank position and connections are confirmed, complete the surrounding installation work in accordance with the recommended procedure and keep access points available.
Designed for Easier Handling and Placement
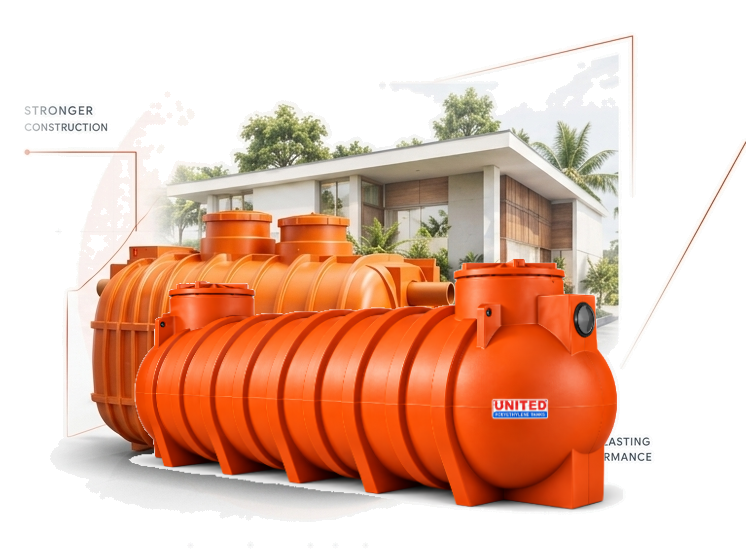
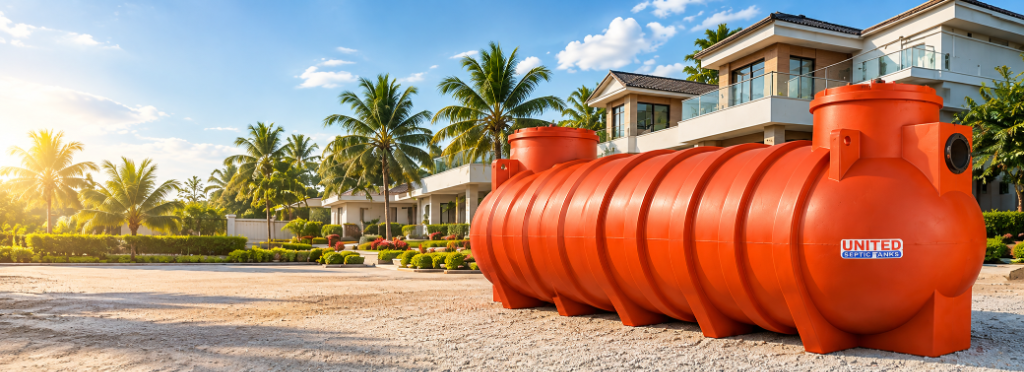
UNITED Polyethylene Septic Tanks are manufactured using polyethylene in a single moulding and are designed as a practical alternative to conventional constructed septic tanks. The existing UNITED website highlights benefits including easier handling, reduced space requirements, non-corrosive construction and adaptability to different locations.
Installation Advantages
Lightweight Construction
Helps simplify transportation and positioning at the site.
Space Efficient
Suitable for projects where installation space is limited.
Non-Corrosive
Polyethylene construction avoids corrosion associated with some conventional materials.
Adaptable Installation
Designed to support different residential and site requirements.
A Septic Tank Is a Treatment System
UNITED’s existing guidance explains that a septic tank is a processing tank rather than simply a dumping tank, and that bacteria play an important role in the treatment process.
To help maintain the biological process, avoid unnecessarily introducing substances that can interfere with the bacteria inside the system.
Important Operational Advisory
UNITED specifically advises against pouring substances such as soap water, detergent, phenol and other chemicals into the closet, because these may affect the bacteria involved in the treatment process.
Protect Biological Treatment
Recommended practices- Maintain Natural Microflora: Allow anaerobic bacteria colonies to naturally break down organic waste inside the processing chambers.
- Simultaneous Water Filling: Always fill tank with clean water simultaneously as backfill progresses around perimeter to equalize earth pressure.
- Firm Base Preparation: Place the tank on a flat, firmly compacted bed of clean river sand or PCC for level support.
- Preserve Access Points: Keep inspection risers and manhole covers accessible at finished ground grade for routine servicing.
What NOT to Do
Substances & actions to avoid- No Chemicals in Closet: Do not pour soap water, detergent, phenol or harsh cleaning chemicals that sterilize beneficial digestion bacteria.
- Do NOT Backfill Completely Empty: Never backfill or compact soil without water ballast inside the tank to balance underground pressure.
- Do NOT Use Sharp Stones: Never use sharp debris, jagged gravel, or expansive clay as backfill around the tank body.
- Do NOT Drive Heavy Machinery Over Tank: Keep heavy vehicles and rollers off the tank zone unless protected by an engineered RCC slab.
Certified Installation Parameters
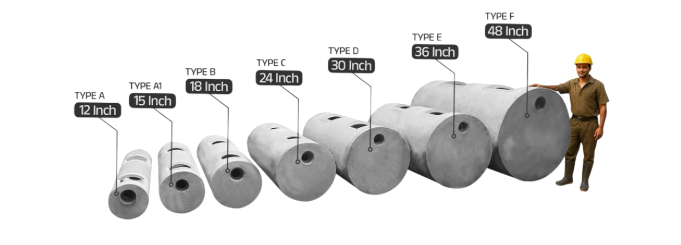
Civil engineering benchmarks governing United Monolithic Polyethylene and RCC Column tanks across South India.
Need Help Planning Your Installation?
Share your location, project type and septic tank requirement with the UNITED team.
We can help you identify the appropriate product and understand the installation considerations for your site.
Select the Right Tank
Choose a septic tank that suits the expected usage, available space and project requirement. UNITED offers different tank options and capacities for residential and project applications.